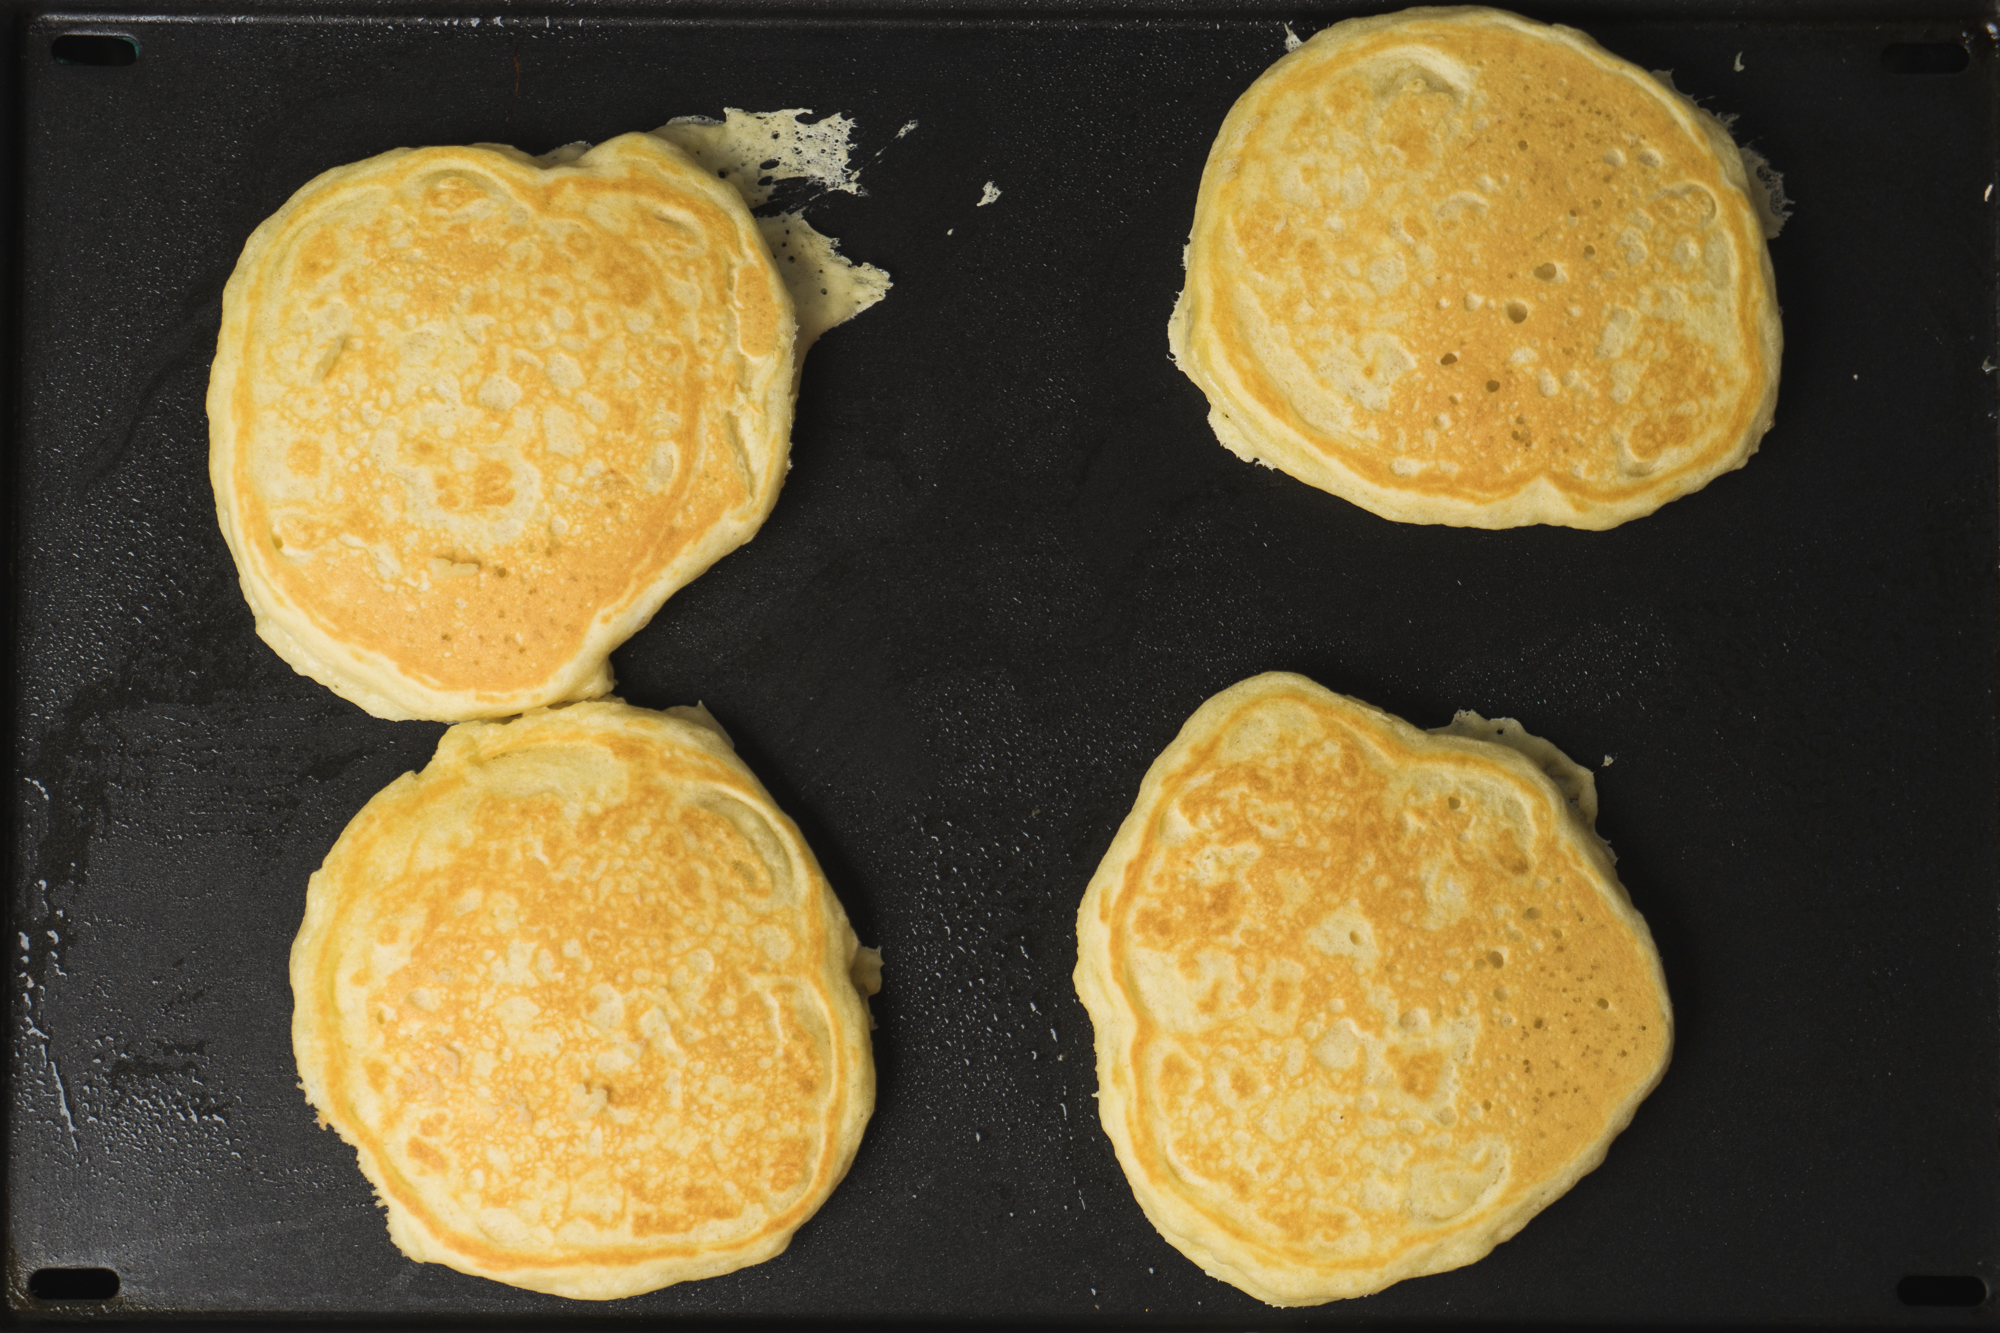
Puffiest Pancakes

Breakfast for dinner or “Brinner” is a big deal around here. It’s something I plan into our menu every month and usually ends up there more often than planned when I forgot that everyone wants to eat dinner...every day.
Any why not? There are so many fast, tasty things you can make under the breakfast for dinner category. I could whip up at least 5 differnt breakfast options with just eggs, milk, cheese, flour, sugar and salt so brinner is the queen of use what you have food. And best of all, most of these meals require little prep or cook time to get them on the table!
A Brinner classic that appears quite often in my house is the simple pancake. Dripping with butter and pure maple syrup, it’s a sweet, tasty treat that is just as delicious in the PM as it is in the AM. In fact I could eat pancakes pretty much anytime!
I used to rely on boxed pancake mix to get my fix, but one day when I was not feeling the store but wanted pancakes I got to thinking how hard could it be to whip up a batch of pancakes from scratch. It turns out, not only was it super easy, but I had everything right in my kitchen to do it!
This recipe is inspired by a recipe I found in the Betty Crocker’s Big Red Cookbook. To account for the fact that I have a pancake monster in my house and for taste preferences, I have tweaked it a bit and added more servings. I promise you from scratch pancakes take no more time than going to the store and picking up a box so give it a try. You and your people can thank me later!
Puffiest Pancakes
Prep Time: 10 minutes | Total Time: 25 minutes | Makes: 14-18 pancakes depending on size
Ingredients
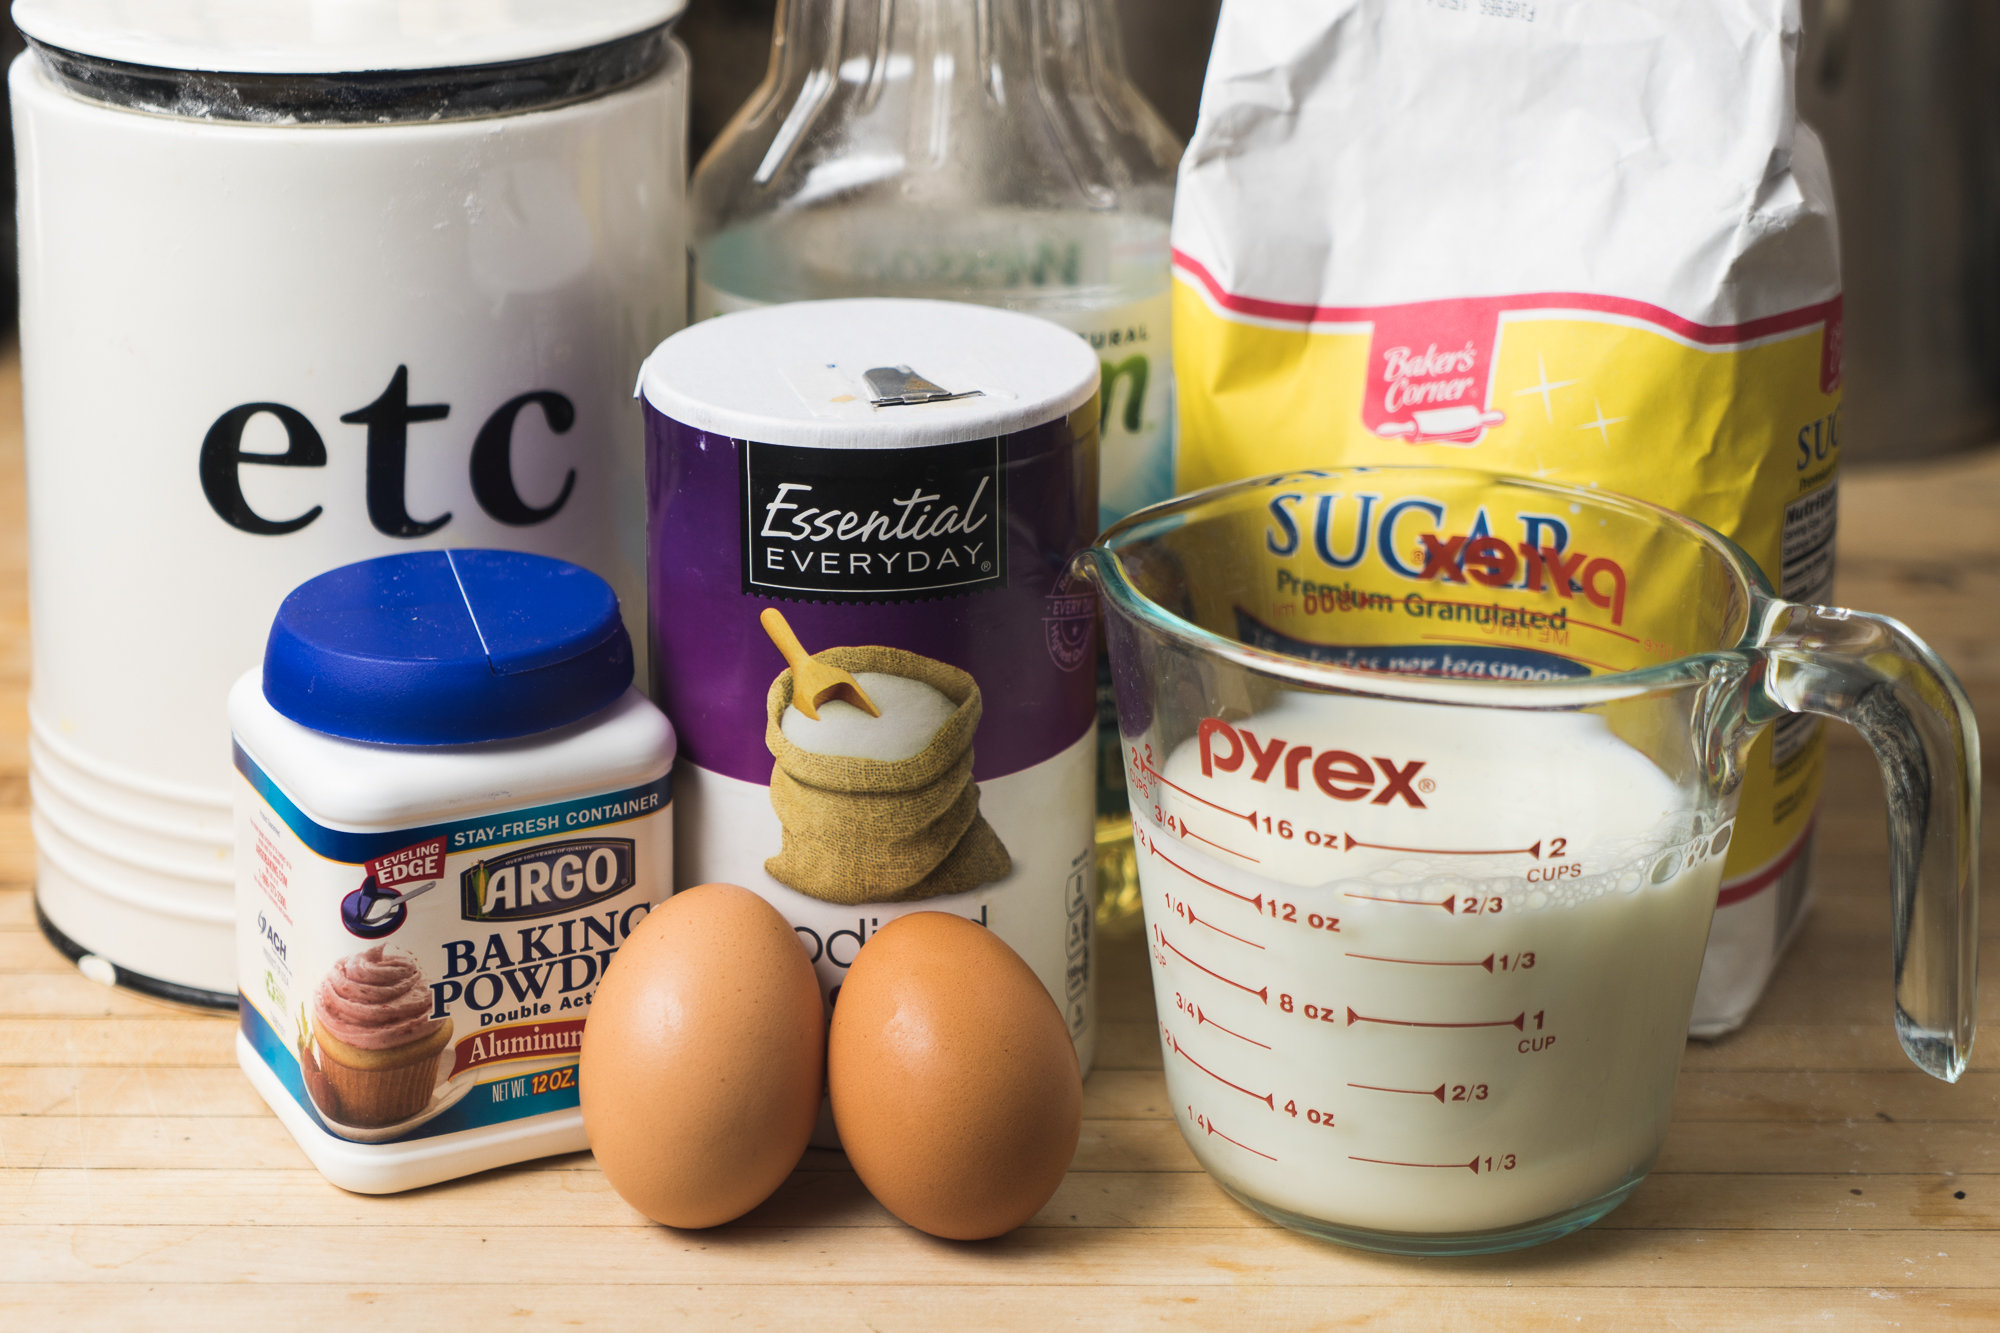
- 2 cups all purpose flour
- 2 tablespoons sugar
- 2 tablespoons baking powder
- 1/2 teaspoon salt
- 2 eggs
- 1 1/2 cups milk
- 1/4 cup vegetable oil
- cooking spray or butter for skillet
Directions
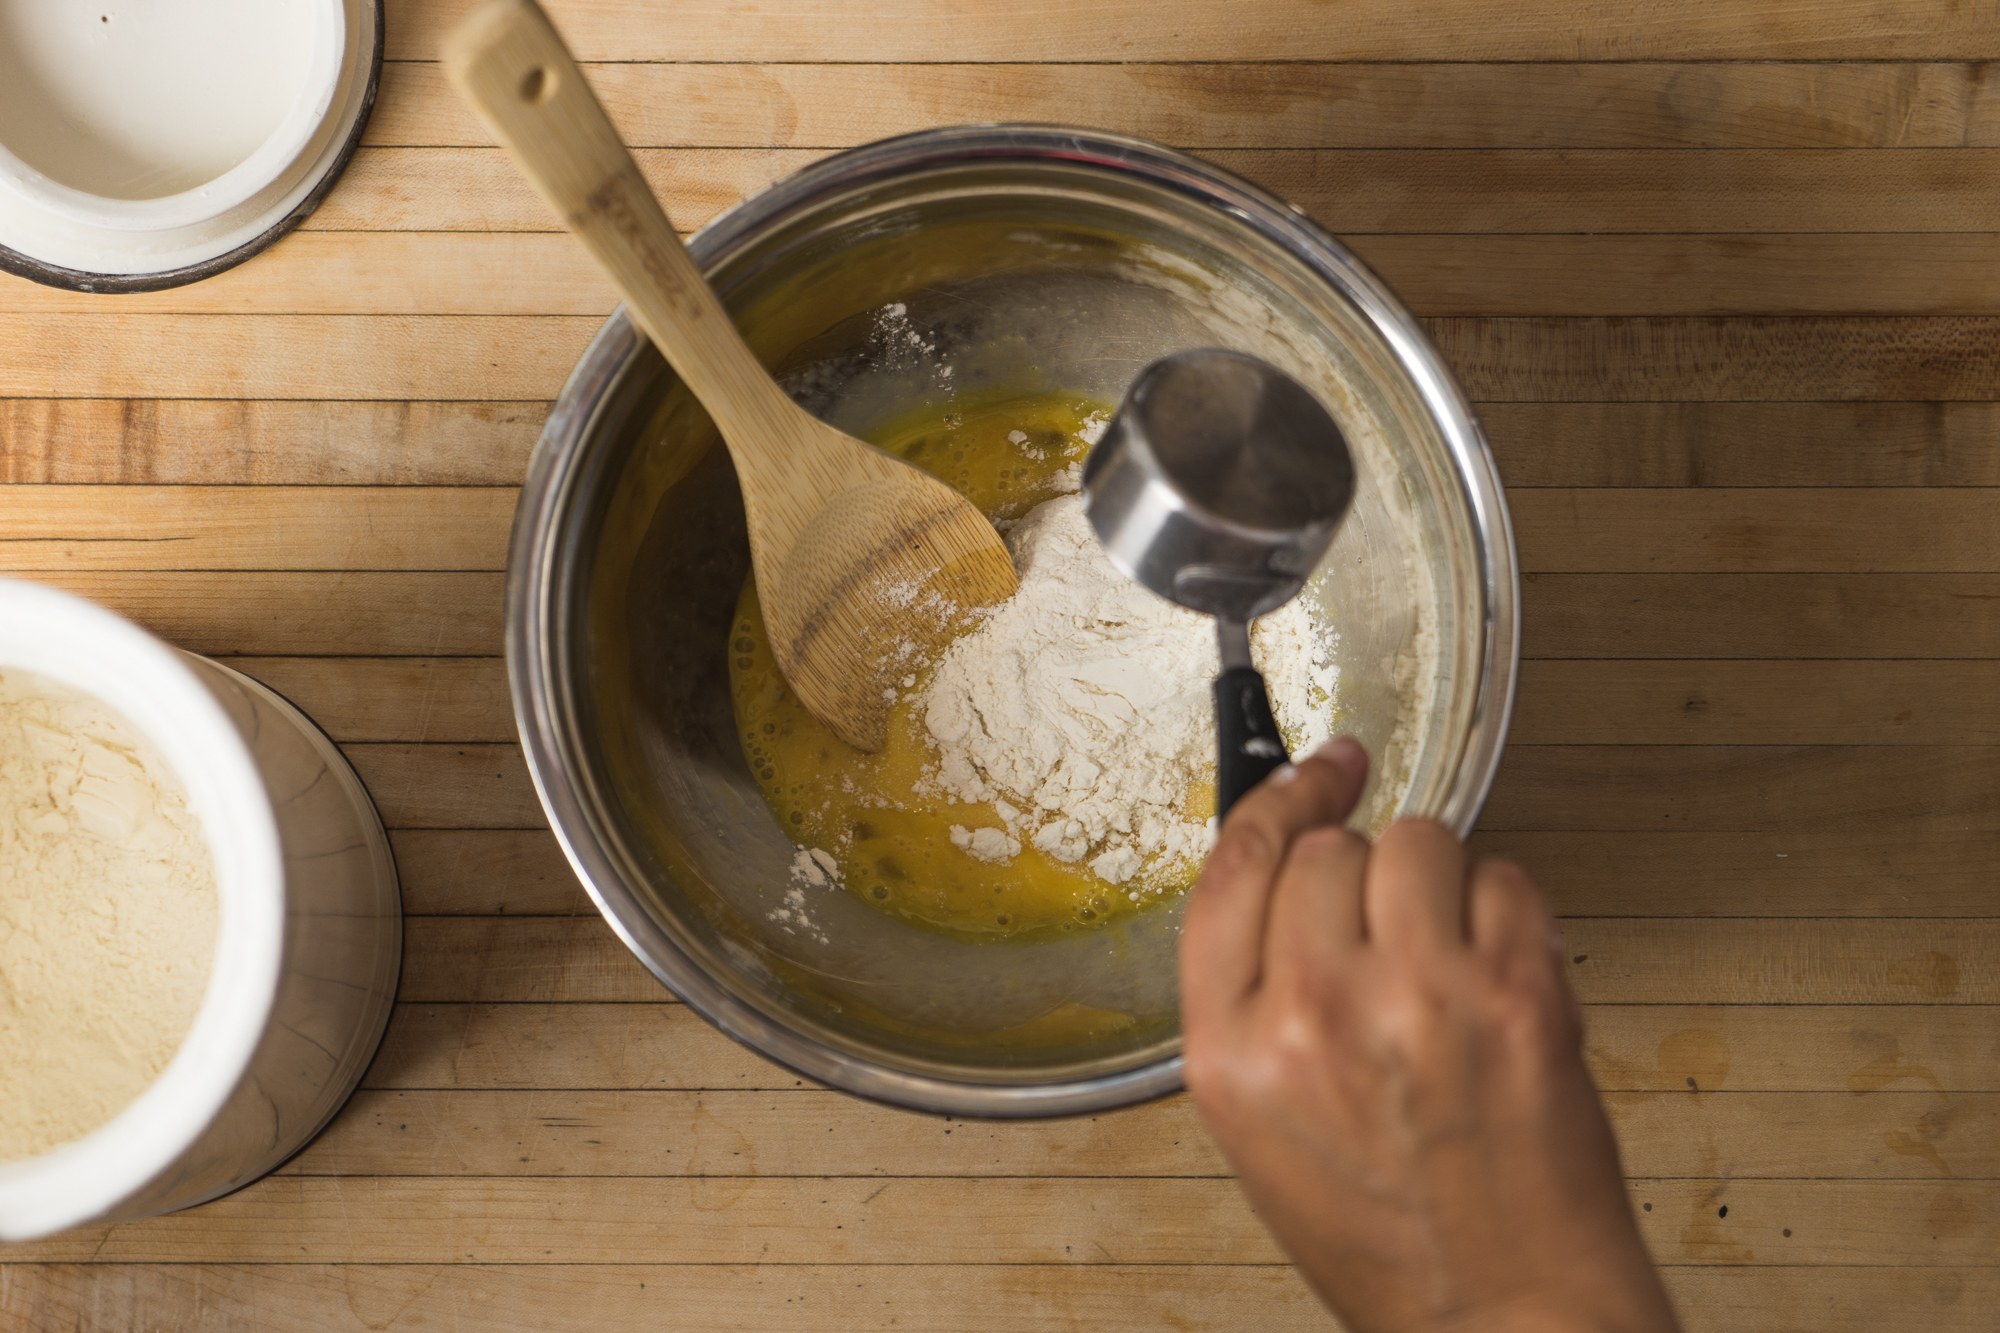
- Break eggs into mixing bowl and beat until combined.
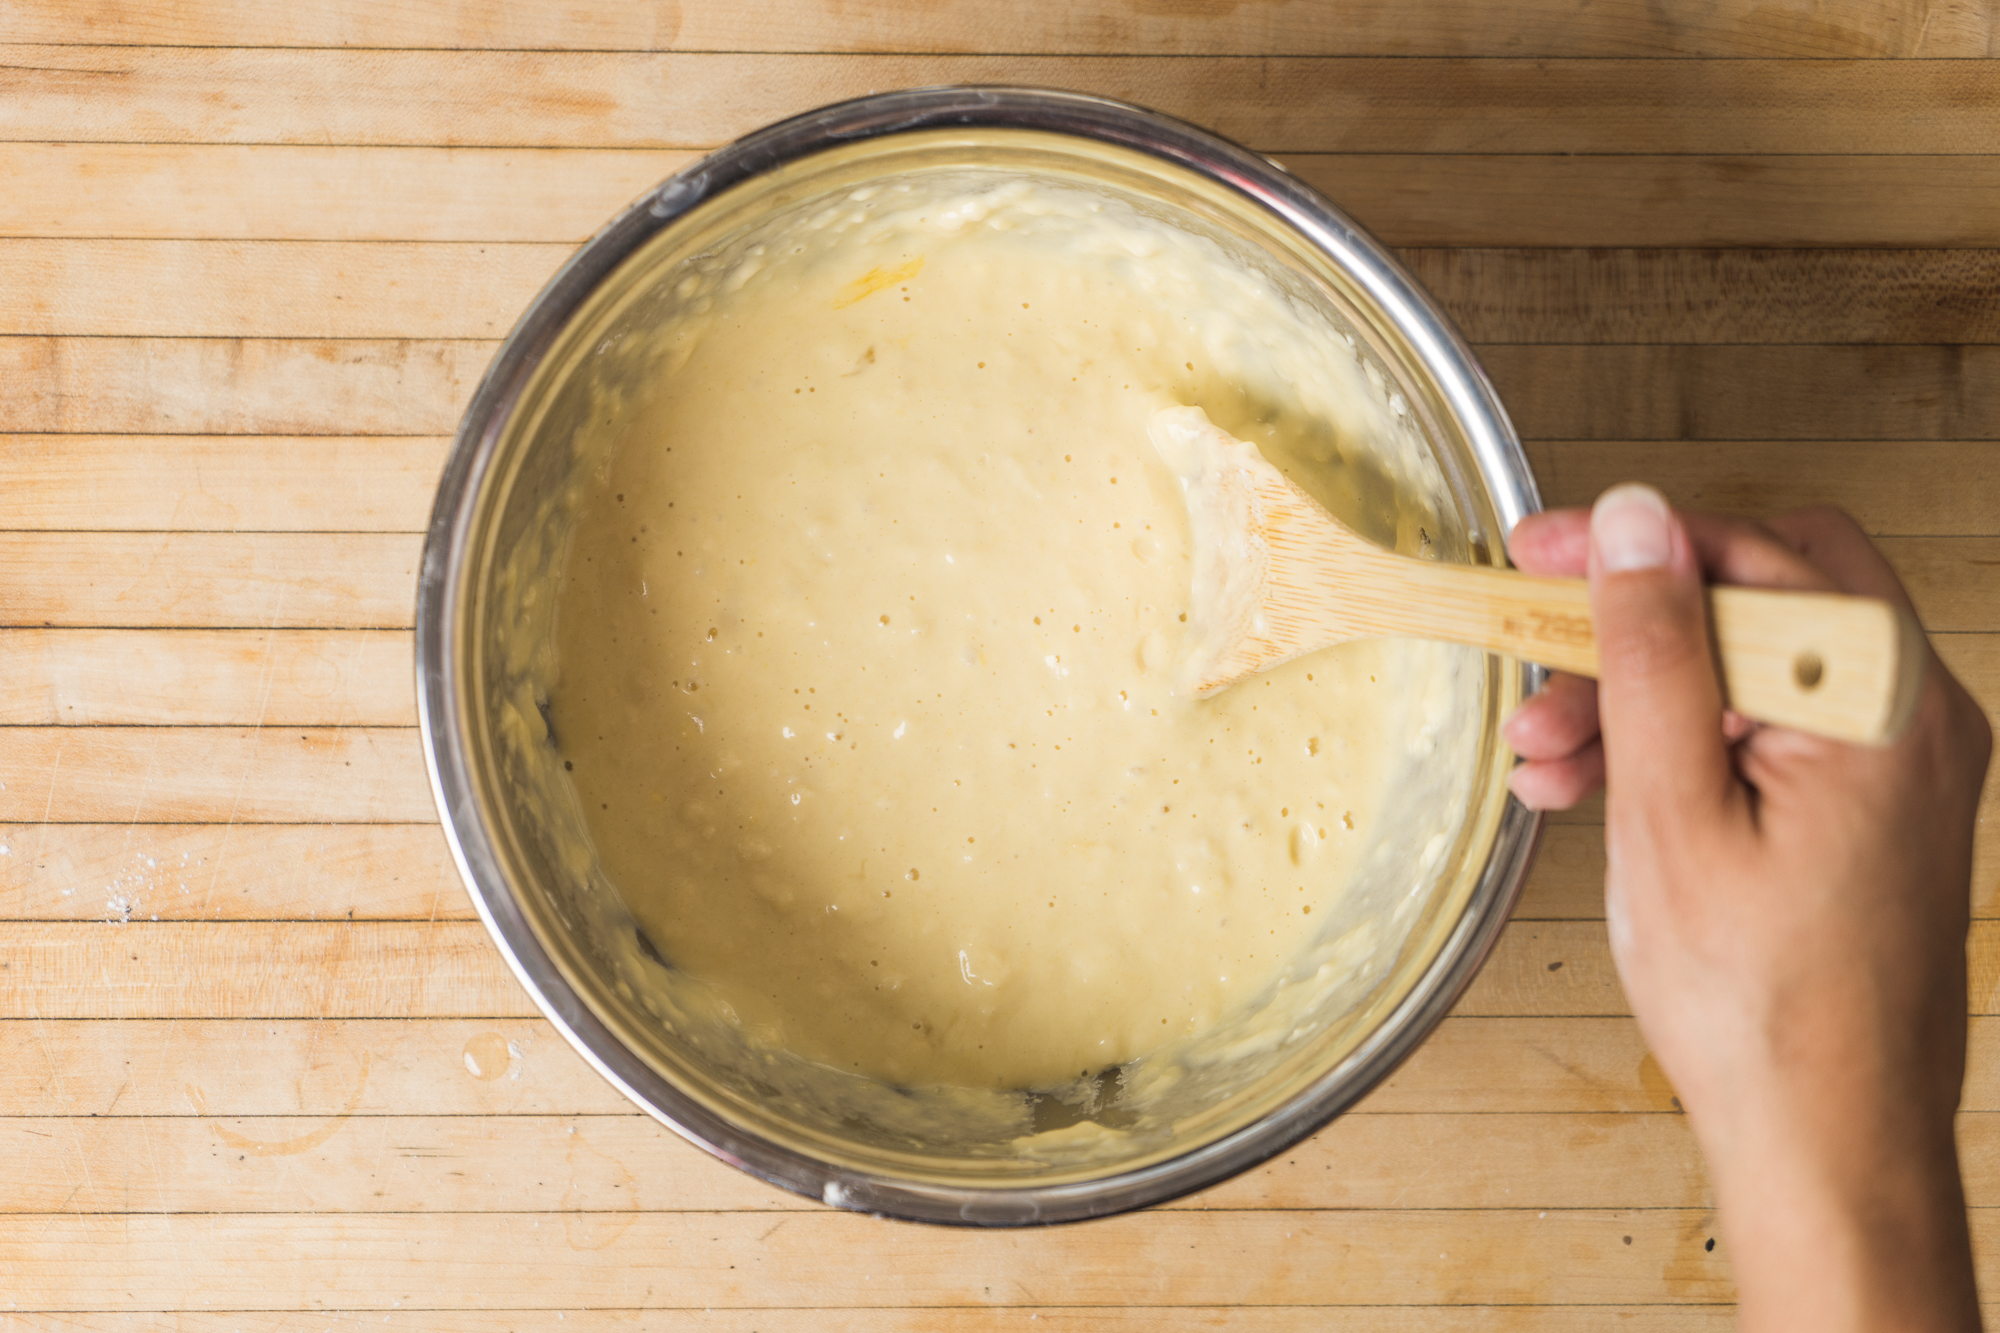
- Add flour, sugar, baking powder, salt, milk and vegetable oil to bowl and mix until just combined. Don't overmix this, just make sure no huge flour lumps exist (little lumps are ok!)
- Let batter rest for 2-3 minutes. While batter is resting, generously coat a large skillet and heat over medium low heat.
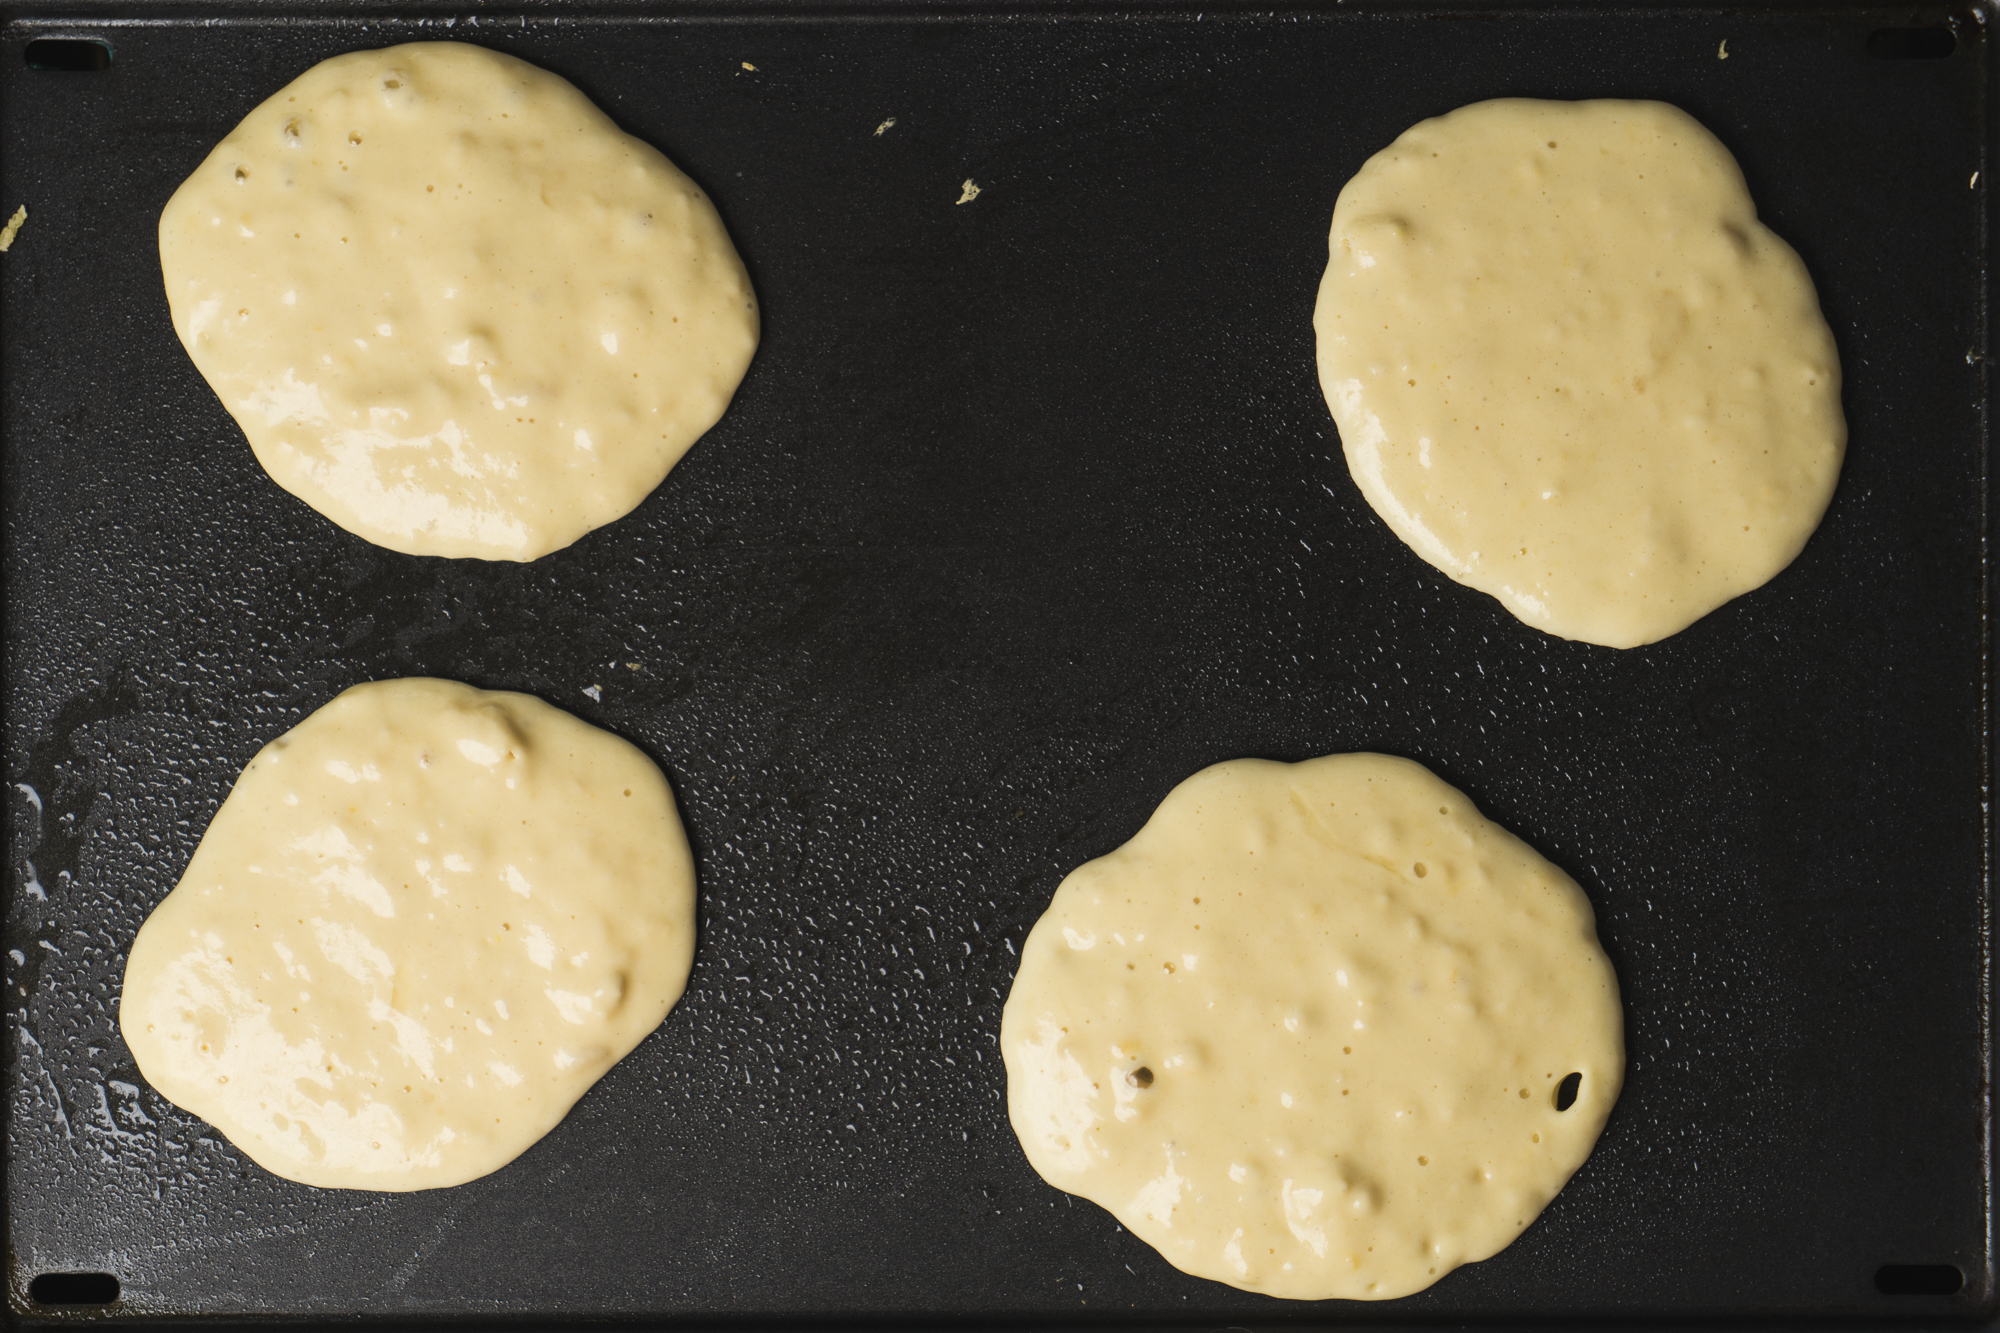
- Once skillet is hot, drop rounded spoonfuls of batter into skillet. Make sure you don't overcrowd them as the pancakes will spread a bit while cooking.
- Cook for 2-4 minute while keeping a close eye on the pancakes.
- When the edges begin to brown, the tops begin to look hard and bubbles form, gently lift one corner of a pancake and if the bottom side appears golden and solid, flip it over and cook for an addional 1-3 minutes, keeping a close eye the whole time.
- Repeat with remaining batter, making sure to coat the skillet in buttter or cooking spray after each batch to ensure the pancakes do not stick.
Tips
- If you are making a large batch of pancakes, you can keep them warm by placing a cookie sheet in the oven, preheating the oven to 200 degrees and placing the pancakes on the sheet as you make them.
- So why should you give the batter a few minutes to rest before adding them to the skillet? A little rest helps the mix to settle and gives the pancakes a nice rise and puff which results in tasty, fluffy pancakes that mops up all that tasty butter and syrup.
- When I say keep an eye on them I mean it! Pancakes are not a food you can cook while doing other things. Ask me how I know this:) Prepare to be at the stove the whole time you are making these but don't worry they cook quickly so you will be in and out pretty fast.
- Pancakes reheat wonderfully so if you have leftovers, don't fret! We warm them back up either by placing pancakes stored in the refrigerator in the microwave for 20 seconds or so. If you freeze your pancakes, they can be popped in the toaster for a few minutes, similar to the packaged freezer waffles. Look at you making convenience food from scratch!
- One thing I have found very helpful for even faster pancakes or for camping is whipping up batches of the dried ingredients to have on hand like my own boxed pancakes. Then all you have to do is dump the bag/container of dried mix, add the wet stuff and pancake away! I find that using zip top gallon sized storage bags work best for this as not only can you make a lot and store them flat, you can easily write the wet ingredients needed and amounts to add on the bag with permanent marker. Then if you are especially frugal, you can just re-fill the bag with dried mix and be ready again. We do this all the time when we camp and it is so nice to not have to haul all the separate dried ingrdients. It is truly one of the easiest items to replace the packaged version with.
